Building a durable and high-quality parking lot involves a carefully planned process, requiring specialized equipment, attention to detail, and adherence to local regulations. Whether you’re a business owner looking to enhance your property or collaborating with other local companies, understanding the key steps is crucial for success.
From site preparation and grading to consistent pouring and striping, every stage plays a role in ensuring the structural integrity of the parking lot. Failing to address critical aspects like a weak sub base layer or improper compaction can lead to issues that customers notice, impacting the overall functionality and longevity of the lot.
This guide will walk through the essential steps, materials like recycled aggregate, and considerations for achieving a successful project.
Importance of Quality Parking Lot Construction
Quality parking lot construction is essential for both aesthetic appeal and long-term durability. A well-constructed asphalt parking lot not only enhances the first impression of a commercial property construction site but also ensures safety and convenience for users.
Poor construction can lead to issues such as cracking, potholes, and inadequate proper water drainage slope, which can result in costly repairs and a negative experience for customers or tenants. Investing in high-quality materials, precise grading, and proper compaction creates a new asphalt parking lot that can withstand heavy traffic and environmental conditions, reducing the likelihood of premature damage.
Additionally, a durable asphalt pavement contributes to the overall value of the property, making it a worthwhile investment for any asphalt paving project.
Step 1: Planning and Design
A thorough site evaluation and feasibility study is crucial to ensure the success of any commercial parking lot project. This step helps identify potential challenges, such as soil stability, proper water drainage slope, and surrounding infrastructure, while also determining whether the site meets the intended purpose. By addressing these factors early in the process, costly delays and modifications can be avoided.
Key Factors to Consider in Parking Lot Design
When designing a commercial parking lot, several key factors must be taken into account to ensure functionality and user satisfaction:
- Size and Capacity: Determine the required number of parking space lines based on the anticipated volume of users and local regulations. Efficient use of available space is critical for maximizing capacity.
- Traffic Flow: Plan for smooth and logical traffic patterns, including clearly defined entry and exit points, sufficient turning radii, and properly marked lanes to reduce congestion and confusion.
- Accessibility: Ensure compliance with accessibility standards, such as the Americans with Disabilities Act (ADA), by including designated asphalt parking spaces, ramps, and clear signage for individuals with disabilities.
- Drainage and Grading: Careful planning for proper water drainage slope is essential to prevent water accumulation, which can cause structural damage and safety hazards. Grading the site effectively will help direct water away from the parking lot surface.
Step 2: Site Preparation and Grading
Proper site preparation is a crucial step in laying the foundation for a successful asphalt paving project. This process begins with site clearing, which involves removing all vegetation, debris, and obstacles from the area. Trees, shrubs, rocks, and other obstructions must be removed to create an open and clean workspace, ensuring that the construction process is not delayed or impeded.
Once the site is cleared, grading is performed to prepare the surface for development. The grading process involves reshaping the land to achieve the desired level and slope. This step is crucial for ensuring a proper water drainage slope and preventing water pooling, which can lead to long-term damage to the asphalt parking lot’s surface layer.
Step 3: Base Installation
The basic asphalt installation of a parking lot begins with the base layer. This step is a key component in ensuring long-term performance. Typically, materials such as crushed stone, gravel, or a combination of both are used to create a stable base layer. These materials are chosen for their strength and ability to distribute loads effectively, preventing premature cracking or settling.
The process begins with evenly spreading the base material across the graded area. Next, specialized equipment, such as rollers, is used to compact the layer. Proper compaction is essential to eliminate voids and ensure a dense and stable surface. During this step, the base layer may also be stabilized with additives or geotextiles to further enhance its strength and resistance to shifting, especially important when preparing for a newly laid asphalt surface.
Step 4: Asphalt or Concrete Paving
The final paving step involves laying either hot asphalt mix or concrete, depending on the specific needs of the commercial parking lot. Both materials offer distinct benefits and are suited for different applications. Below is an overview and step-by-step guide for each option, along with key factors influencing the choice of paving material.
Paving Material Options
Paving with Asphalt:
- Heat the hot asphalt mix to the appropriate temperature.
- Transport the mix to the site and lay it onto the prepared base layer using an asphalt paving machine.
- Compact the pouring asphalt using a heavy roller to ensure a smooth and even surface layer.
- Allow the asphalt to cool and cure for 24–48 hours before opening the lot to traffic.
Paving with Concrete
- Prepare the concrete mix on-site or have it delivered from a batching plant.
- Pour the concrete onto the base layer and spread it evenly using rakes and screeds.
- Smooth the surface with a trowel or finishing tools to achieve the desired finish.
- Allow the concrete to cure for at least 7 days (or as required) before heavy use, ensuring maximum strength.
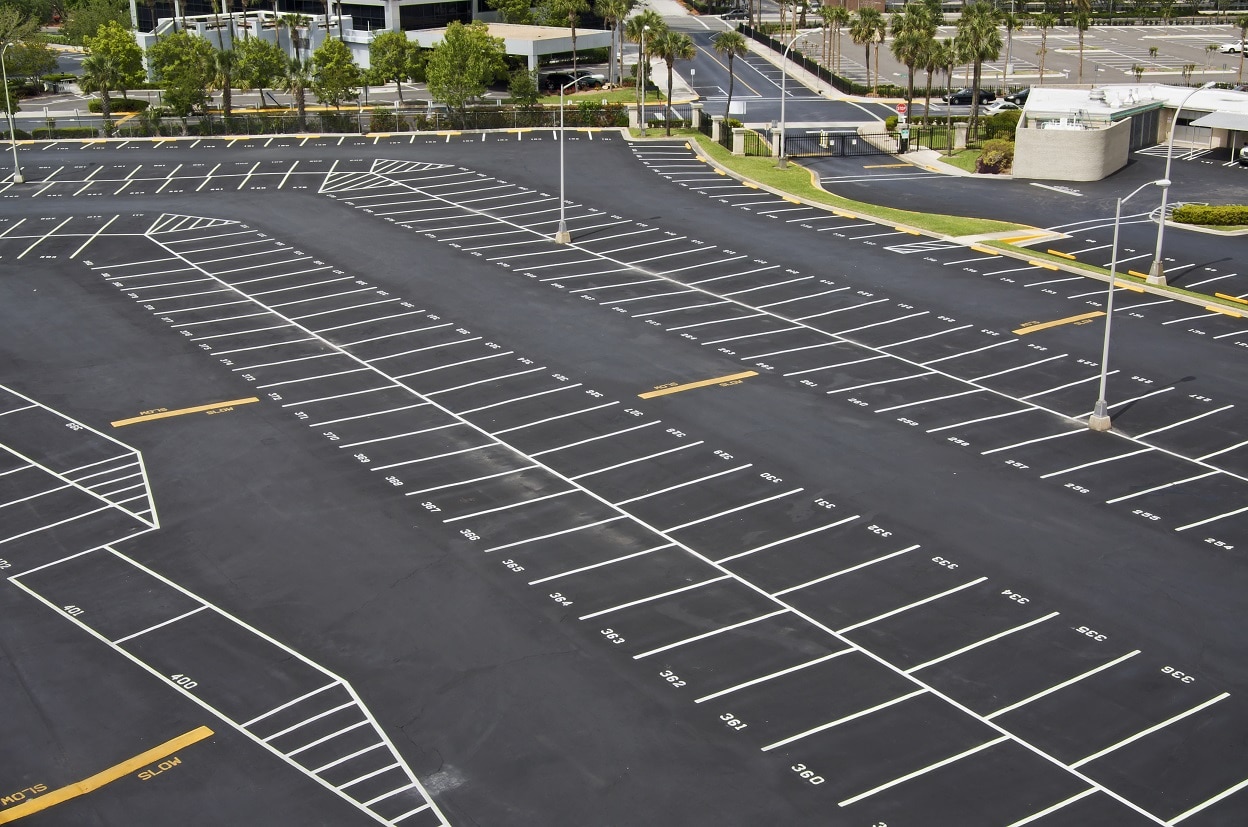
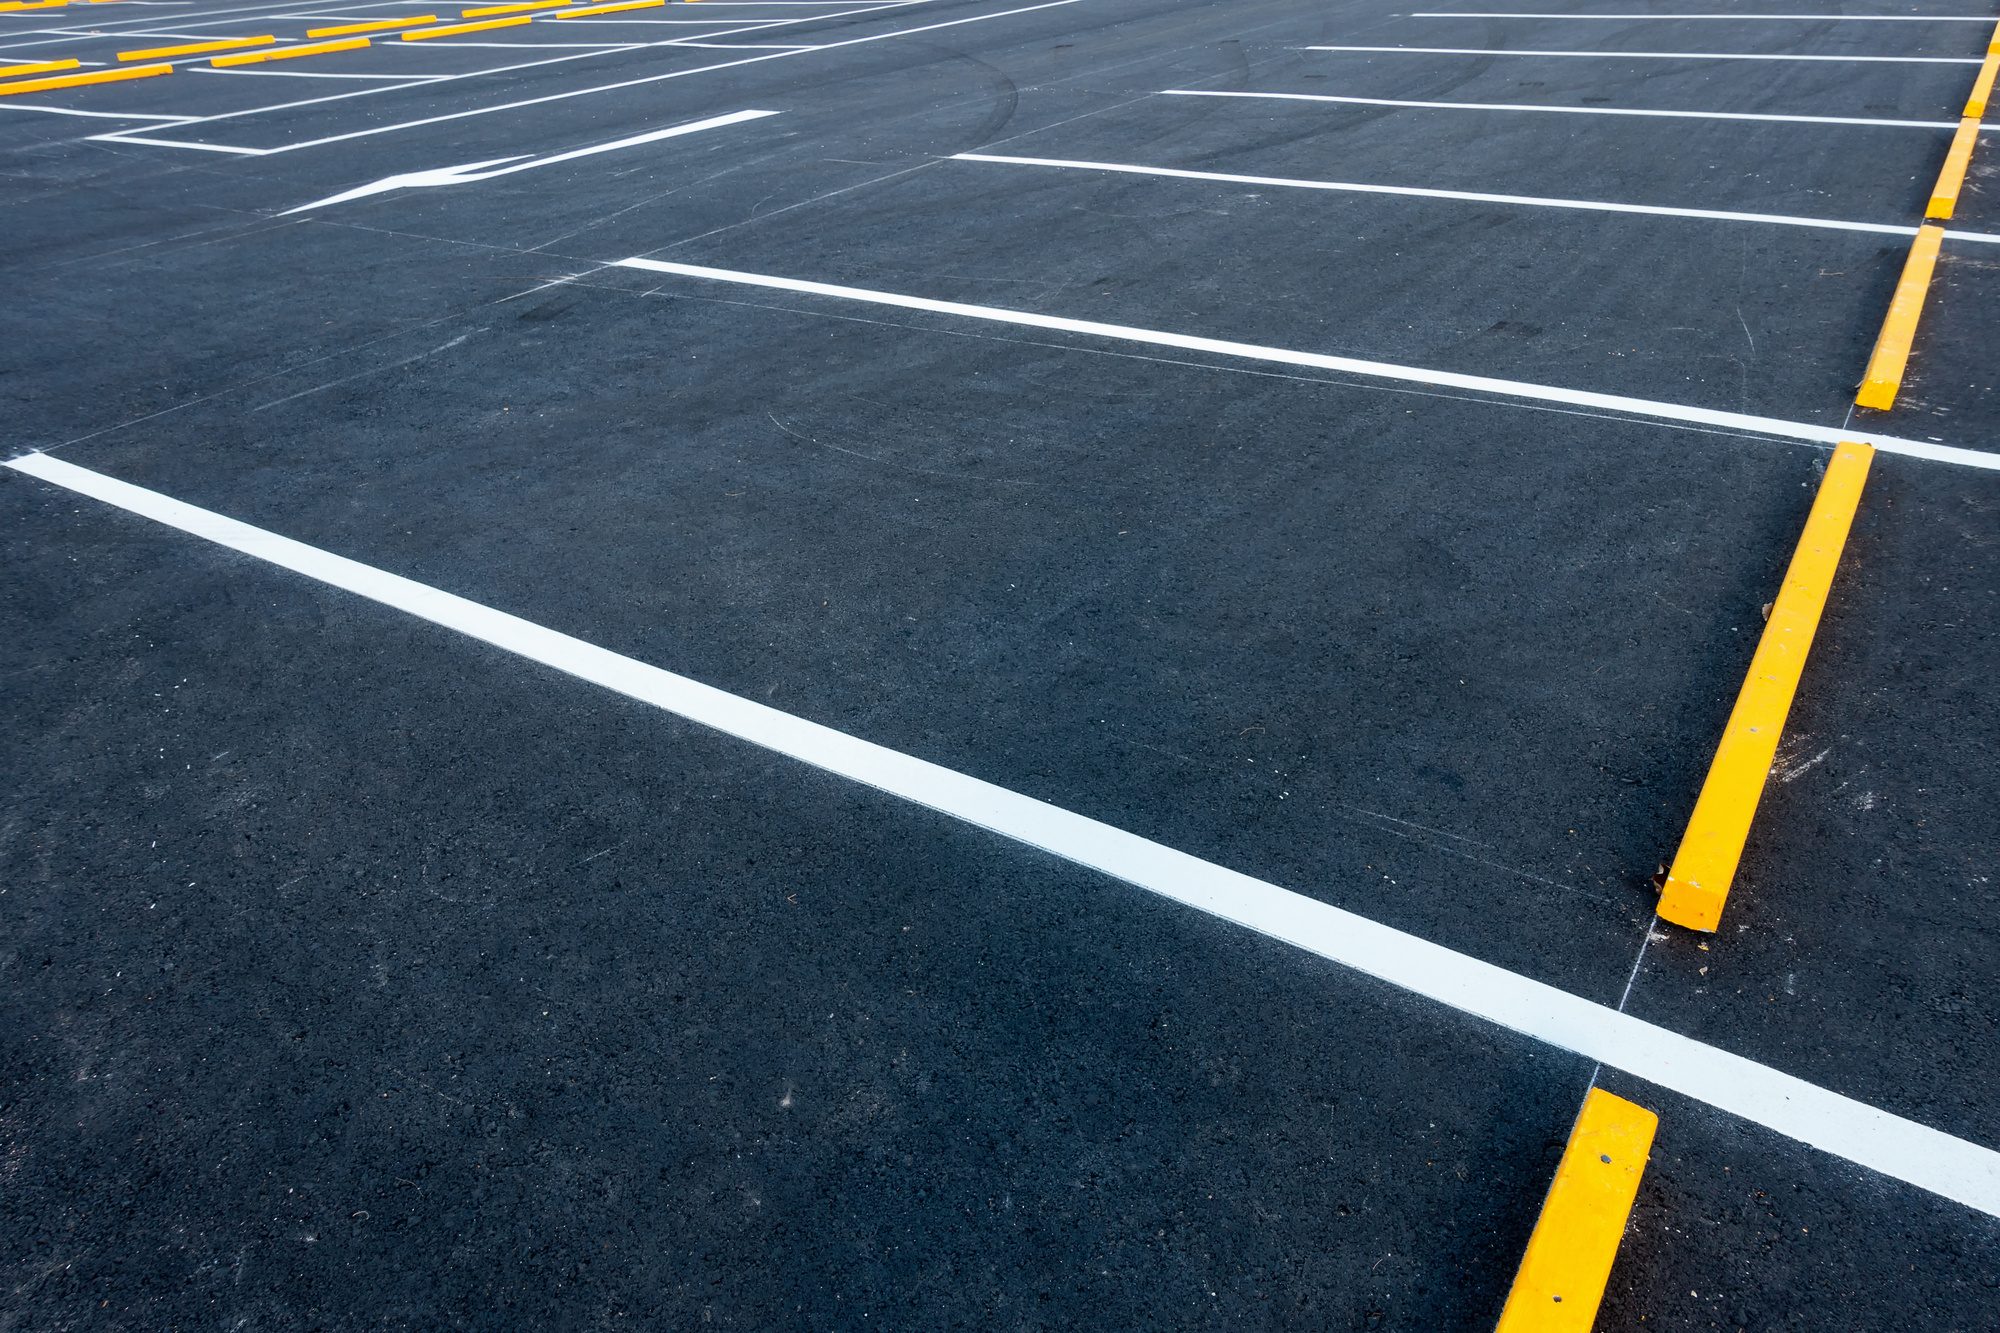
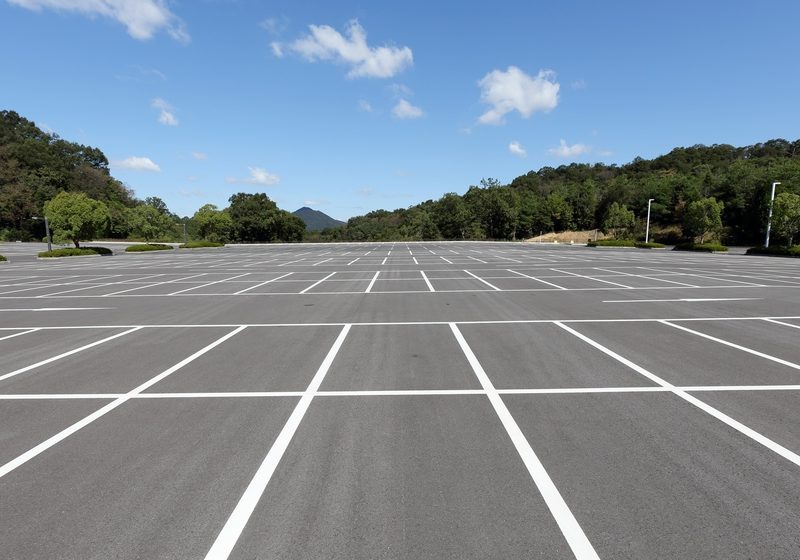
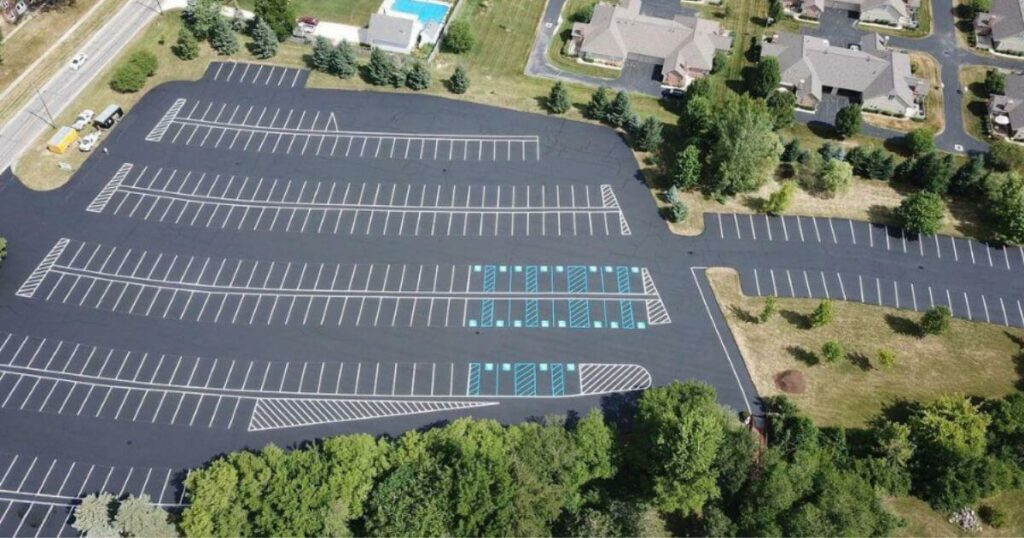
Finally, finish the job with parking space striping for organized traffic flow and compliance with local regulations. These markings complete the asphalt installation and enhance the usability of the new commercial parking lot, whether it’s replacing existing asphalt or starting from scratch.
Step 5: Curing and Sealing
The curing process is a critical step in ensuring the longevity and performance of both asphalt options and concrete surfaces. For concrete, curing involves keeping the surface moist for a specified period, typically 7–14 days, to ensure proper hydration and strength development. Meanwhile, new asphalt installation requires time to cool and fully harden, which can take anywhere from 24 to 48 hours for light use and up to 30 days for full curing, depending on weather conditions and proper planning.
Sealing is equally important as it provides an added layer of protection against moisture, chemicals, standing water, and UV damage. For asphalt, sealing should generally be done 6–12 months after installation to allow it to fully cure, while concrete sealing can be applied once the surface has dried thoroughly post-curing.
Regular sealing, typically every 2–3 years, helps enhance the material’s durability, promotes resistance to weather extremes, and prolongs the lifespan of the paved surface. Proper water drainage, slight slope, and quality sealing ensure a solid surface that withstands daily wear.
Step 6: Striping and Marking
Striping and marking are critical components in enhancing traffic organization and ensuring safety in parking areas. Proper pavement marking provides clear guidance for vehicle and pedestrian movement, minimizing confusion and reducing the risk of accidents—one of the first things customers notice upon arrival.
Key factors influencing the parking stripes layout include adherence to ADA (Americans with Disabilities Act) compliance standards, especially for access aisles, and maximizing traffic flow efficiency by optimizing lane placements and directional indicators.
To achieve long-lasting and visible markings, it is essential to use high-quality paint or thermoplastic materials designed for heavy traffic wear and extreme weather conditions. These materials should be spread evenly across a uniform surface to ensure consistency. Regular maintenance of the markings, such as repainting faded lines, is also vital to preserve their effectiveness.
Step 7: Final Inspection and Maintenance Plan
A thorough final step is the final inspection, which is crucial to ensure the quality and functionality of the completed paving project. Key aspects to evaluate during the inspection include proper grading, the effectiveness of drainage systems to prevent standing water, the overall pavement surface quality, and the visibility of pavement marking under various lighting conditions.
Additionally, developing a comprehensive maintenance plan is essential for the longevity of the existing parking lot or newly completed space. This plan should include periodic checks for wear and tear, prompt repainting or repair of faded or damaged markings, and regular surface cleaning to maintain safety and appearance.
Other critical maintenance practices include surface milling where needed, debris removal by dump truck, and consulting with an experienced paving contractor to plan the next paving project. Staying on top of these efforts ensures that your existing surface remains safe, compliant, and visually appealing.
Benefits of Professional Parking Lot Construction Services
Investing in professional parking lot construction services comes with numerous advantages that ensure a durable and efficient outcome. An experienced paving contractor uses high-quality materials and heavy machinery to deliver paved surfaces capable of withstanding heavy traffic and harsh weather conditions.
Additionally, professional services prioritize compliance with local regulations and securing necessary permits, reducing potential liabilities. A well-constructed parking lot improves space efficiency, enhances curb appeal, and provides a safe environment for both drivers and pedestrians. Professionals also account for utility company requirements and proper drainage systems during planning and execution of the parking lot paving process.
Furthermore, professional contractors offer basic asphalt installation along with long-term maintenance plans that include routine inspections and timely repairs. Ensuring surfaces are compacted properly and built with adequate space planning helps extend the lifespan of all the paving work completed. These efforts significantly reduce overall repair costs and ensure long-term performance.
Conclusion
In conclusion, investing in professional parking lot construction and maintenance services is a prudent decision that yields long-term benefits. From ensuring durability and safety to enhancing aesthetics and functionality, these services contribute to the overall value of the property.
By relying on experts and following proper planning, property owners can rest assured that their paved surfaces will remain in excellent condition for just a few months after basic asphalt installation and for many years to come. A well-constructed parking lot with proper drainage, clear markings, and routine maintenance creates a reliable surface that supports daily use.
These efforts not only save time and money but also create a lasting positive impression on visitors, clients, and customers, demonstrating professionalism and attention to detail.